Today I am spending it in my Nana's Nook. I am sewing library bags to be sent to Toowoomba to be given to some of the children that have been affected by the Queensland floods, ready for back to school. I decided to take pics as I went along to show how I have made my bags. I will include the Face Book link for the site that I found this on, wanting the bags made.
http://www.facebook.com/#!/pages/Crafty-Aussie-ladies-needed-to-sew-library-bags-for-students-in-flooded-QLD/159217130795990 As of at the moment being 4pm NSW time, ( thinking this blogging page is in USA time) I have made 6 bags and plan of making another 6. I have to post them so I think 12 will be a help. So here I go...
Me making library bags
Firstly my fabric was 112 cm wide and 1.5m long. So I have cut each bag roughly 37 cm wide and 75 cm deep. This has enabled me to make 6 bags from 1.5 m of fabric.
1. I cut my fabric out
2. I overlocked just the top two edges as the sides will be overlocked later
3. I then turn over 2cm and sew in for the hem.
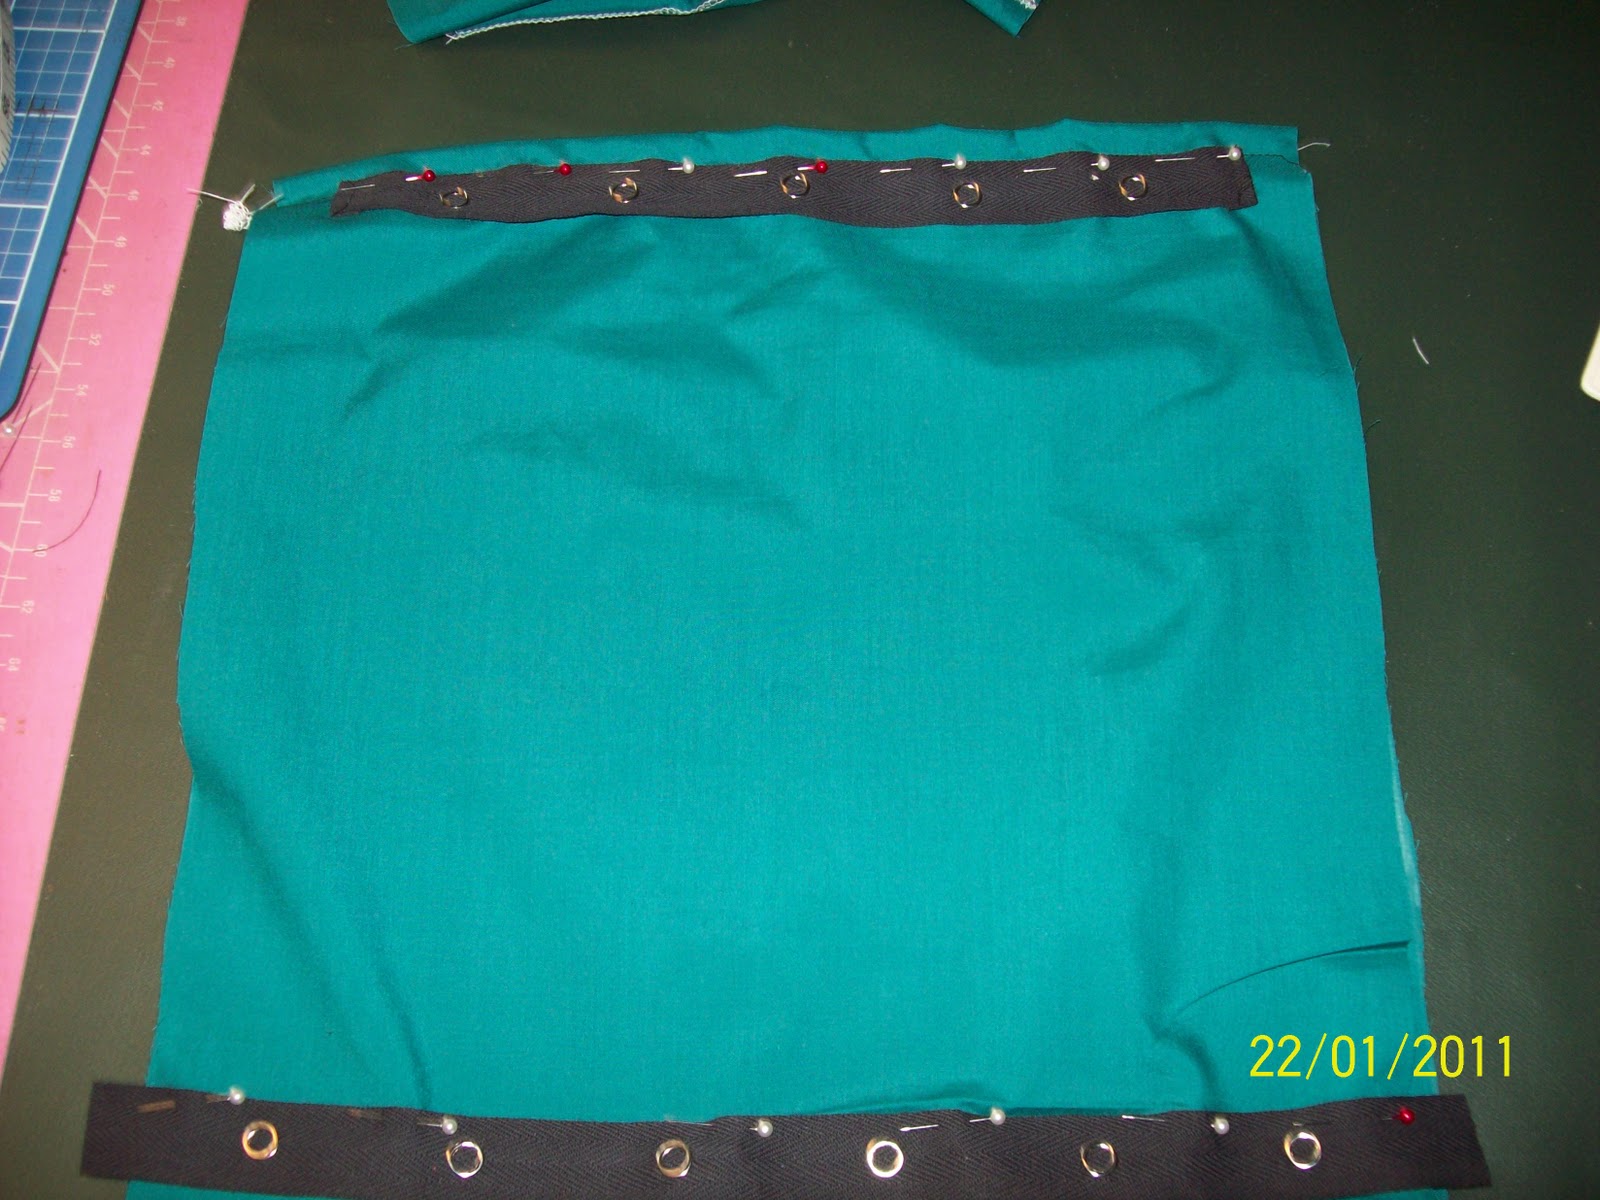
3. I then have used some cotton taping that I have pinned on to be used at the casing for the cord to go through. First off I measure it just short of the width, then have turned the ends over and sewn them. I then pin just the top edge along the stitch line from the previous hemming. I leave it short from the edges because this will be sewn later and I need the ends open for the cord to go through. Because this is very light weight fabric I have also put a row of this taping across what will be the bottom of the bag, just to give it a little strength when it is carrying books.
4. Sew in casing being sure not to sew the ends close. Also I backstiched on each row and end to help reinforce as these will be tugged at by the drawstring
5. Then I folded each bag in half with right sides facing. Overlocking down both side seams. Fold bag right way out when finished. I cut my threads as I go, and the overlocking thread at the top openings I thread them back through the overlocking stitches with a fine crochet hook.
6. I measure the cord. For each bag you need two strands. Each strand has to go around the whole bag and tie in a knot.
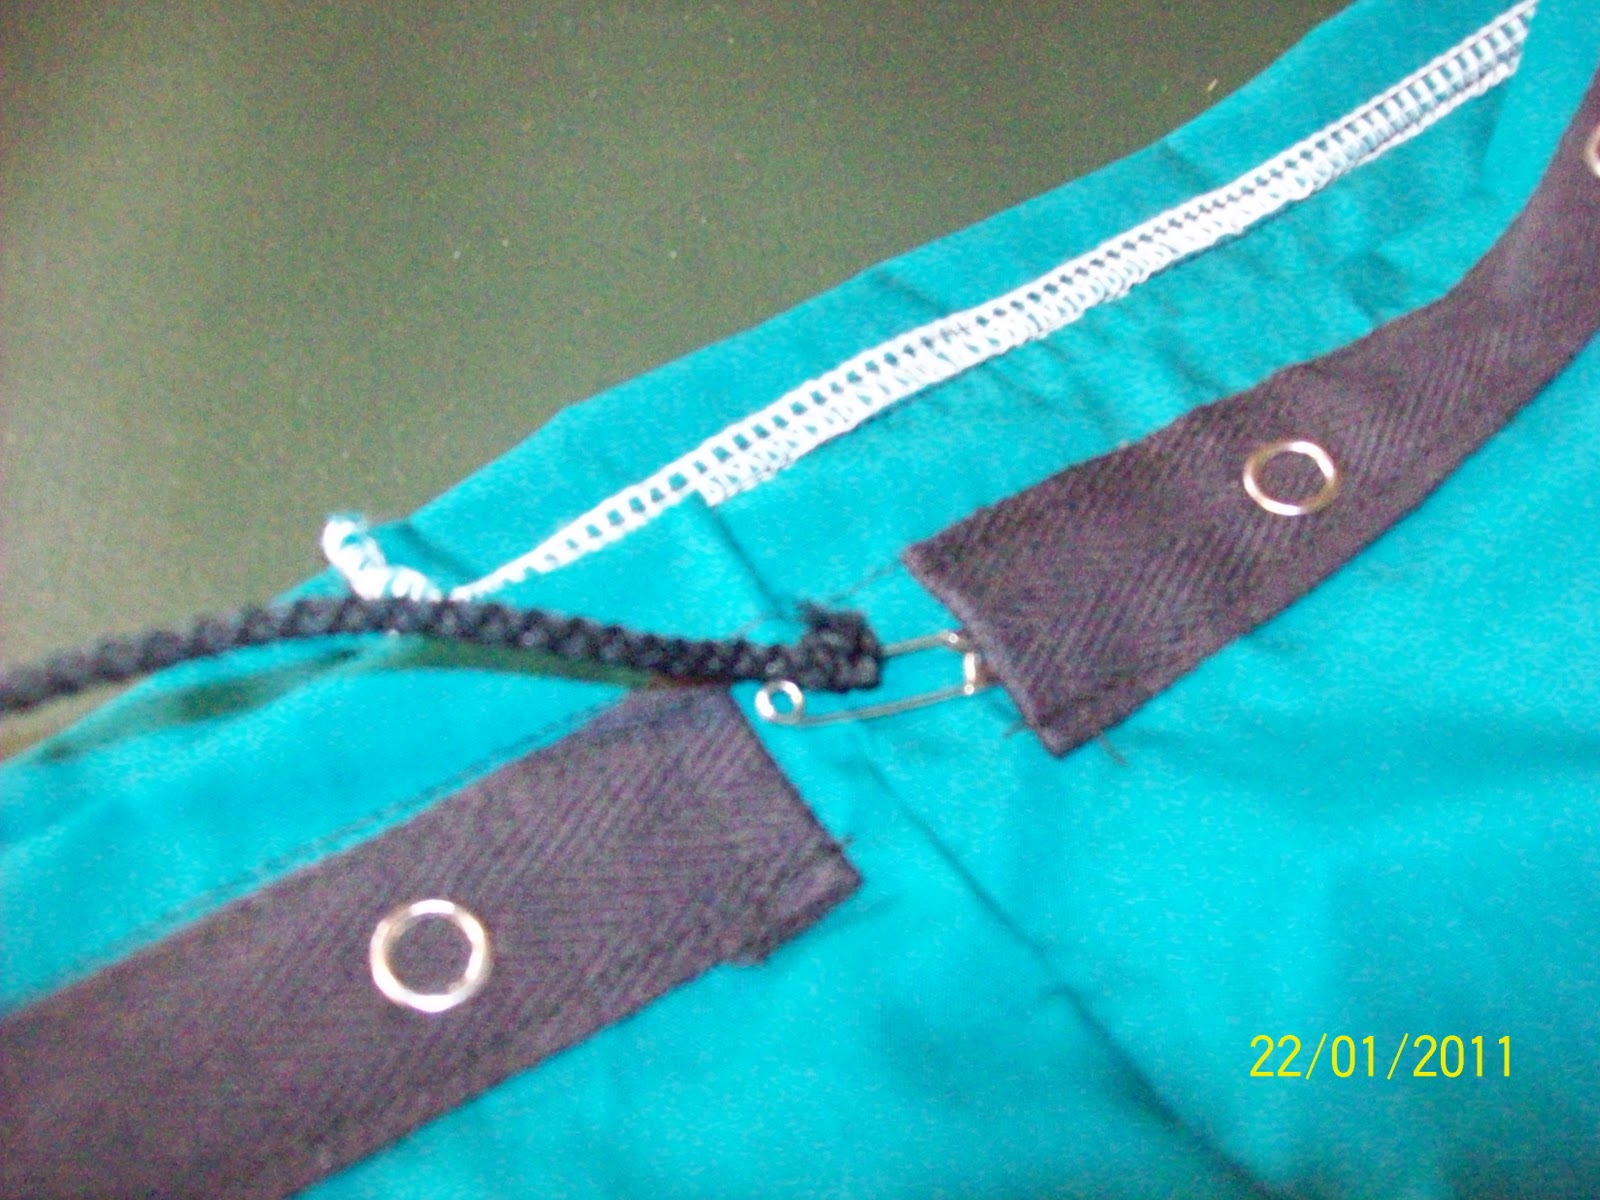
7. I attach a safety pin to my cord to help feed it through the casing
8. Start the secord peice of cord on the opposite side as the first one. Tie the ends in a knot when you have completely threaded through.
9. Finished library bag. :)
So I have completed 6 of these ones. Now going to make another 6 out of calico so might have to dress them up a little.


Well done Jen you are a goer.Some kids are gunna be so happy.
ReplyDelete